 Local Hair Color
How to compare hair colors on your own photo
Scrolling through shade after shade can leave you more unsure than when you started. A short, structured comparison works better. Instead of hunting for the one “right” color, you narrow a wide field down to a favorite or two you can talk through with a colorist or read up on before buying a box.
The short versionTo compare hair colors on your own photo, try very different families first, keep two or three finalists, then adjust intensity on each. Tap Natural between shades to see your original. Finally, repeat your finalists on a second photo in different light, and choose the one you still like in both.
A five-round way to preview hair colors
Each round answers one question, so you’re never weighing everything at once. It usually takes ten minutes or so. If you haven’t picked your photo yet, start with how to choose the best photo for a hair color try-on, because every round depends on it.
Round one: try broad families
Pick four shades that are clearly different from each other, such as Honey Blonde, Chocolate, Copper, and Burgundy. You’re asking big questions here: lighter or deeper, warmer or cooler, natural or bold. Neighboring shades that look nearly the same slow this round down, so save them for later.
After each one, tap Natural in the shade row to see your original, then tap the shade again. Drop any direction that makes you feel “not me” straight away. Trust that first reaction.
Round two: choose finalists
Take the one or two families you kept and try the shades next to them. If Copper survived, compare it with Auburn and Cherry Cola. If Honey Blonde did, try Teddy Bronde on one side and Platinum on the other. End this round with no more than three finalists.
Pinch to zoom on your hairline and ends, drag to look around, and double-tap to reset. A shade that looks lovely from a distance but flat up close may just need the next round.
Round three: set the intensity
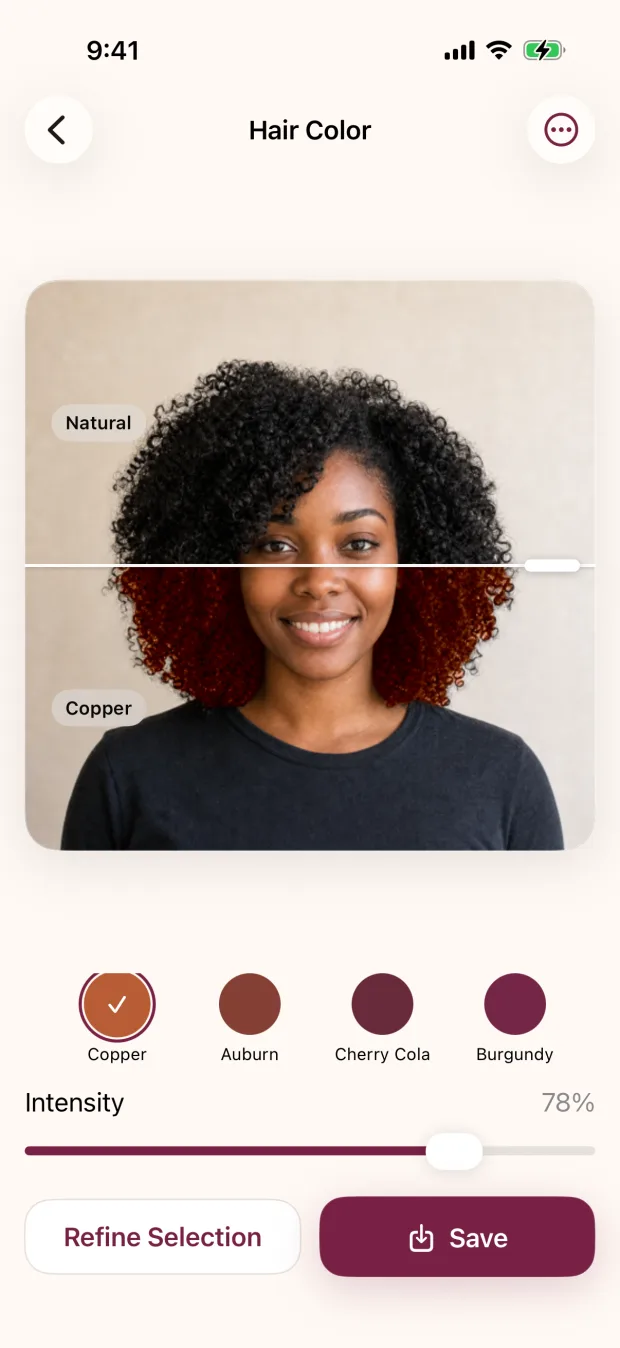
Now, and only now, adjust the intensity slider for each finalist. Lower intensity lets more of your own color show through, which reads as a softer, more blended change. Higher intensity makes the new direction obvious. Many people find the shade they rejected at full strength looks right at a gentler setting.
Watch that your hair still has depth, shine, and texture. If the shadows between sections disappear, the preview is too strong for that photo.
Round four: check a second photo
Open a different photo taken in different light, maybe outdoors if the first was indoors, and try your finalists again at similar intensity. Warm shades in particular can look richer under lamps and cooler in daylight. A favorite that holds up in both photos is one you can feel more confident about.
Round five: decide and save
Save your top one or two as new photos. The app never overwrites your original. Then give it a day. Look at the saved previews in the morning, show a friend if that helps, and notice which one you keep coming back to. That’s your answer for the next step: a consultation, a strand test, or a closer read of a product’s instructions.
The Natural family
These six stay close to colors hair grows in naturally. They’re a good starting row if you want a change people will notice without it being the first thing they see.
Teddy Bronde
A soft in-between of brown and blonde. Handy for seeing whether you like going a little lighter without committing to blonde.
Espresso
A deep, rich brown. Compare it with Jet Black if you’re drawn to dark but not sure how dark.
Chocolate
A warm, medium brown. A gentle way to preview a deeper or richer brunette.
Honey Blonde
A warm, golden blonde. Our guide on whether to go blonde covers the questions to ask before you do.
Platinum
A very pale, creamy blonde. Great for seeing the extreme end of light. Darker hair usually needs lightening to get near it, so ask a colorist.
Jet Black
The deepest shade in the row. Worth comparing at a lower intensity, where more of your natural depth shows.
The Trending family
Warm reds, deep berry tones, and soft metallics. These are the shades where comparing neighbors side by side pays off most. For the reds, see copper vs auburn vs cherry cola.
Copper
A warm orange-red. It reacts strongly to warm lighting, so check it on a daylight photo too.
Auburn
A red-brown that sits between Copper and the browns. A softer way into red.
Cherry Cola
A dark red-brown with a hint of cherry. Lovely for seeing red on dark hair at a lower intensity.
Burgundy
A deep wine color. Compare it with Cherry Cola to decide how much purple you like in your red.
Silver
A cool metallic gray. Useful if you’re thinking about embracing your gray and want a first look.
Rose Gold
A soft pink-gold. A gentle way to try a playful tone before going fully bold.
The Bold family
Pink, Blue, Purple, and Green are for fun, for a festival, or for finally trying the color you’ve wondered about. Start at full intensity so you can clearly see the color, then lower it to see a softer, washed version. For more on these, read how to try pink, blue, or purple hair.
Pink
Playful and bright. Compare with Rose Gold if you want to see how far to go.
Blue
A cool, striking change. Lower the intensity to see it blended with more of your own color.
Purple
Sits nicely next to Burgundy if you want a bold color that still feels deep.
Green
The boldest of the set. Fun to try, even if only for a laugh.
When to use Custom
Custom is most useful after the rounds above, when you know the direction and want to nudge it. Tap Custom and use Apple’s grid, spectrum, or sliders to go a touch warmer, cooler, or deeper than a preset. It’s a visual tool, so don’t expect a color on your screen to match a dye number. Screens, lighting, and hair all treat color differently.
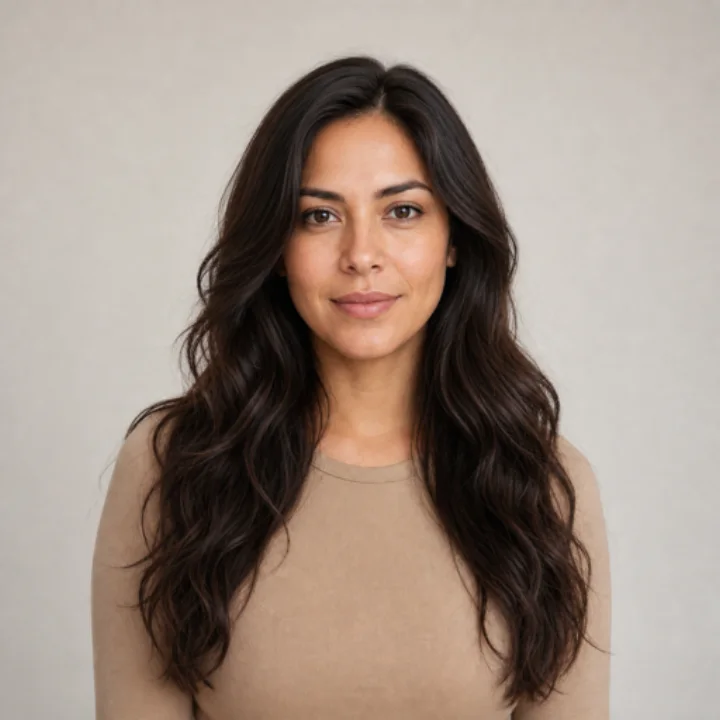
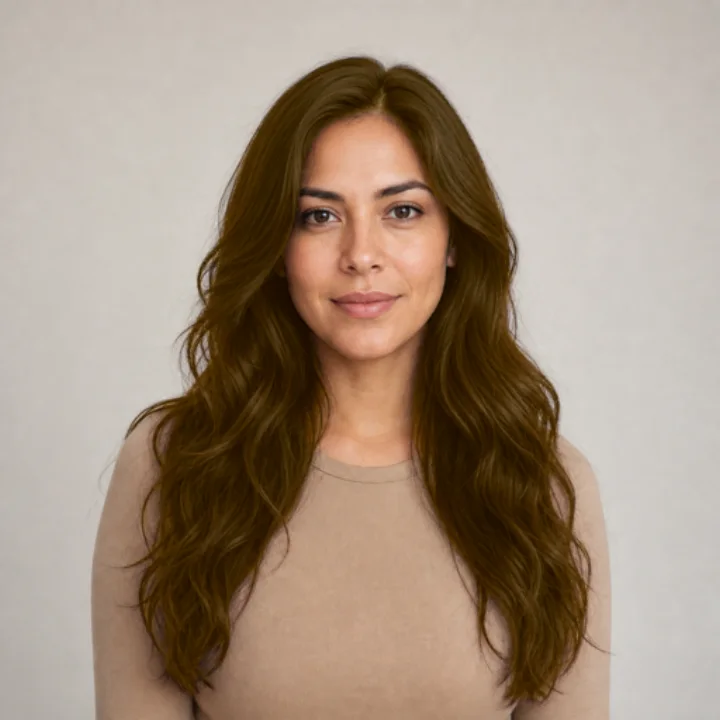
Compare in this order.
Warm or cool, then lighter or deeper, then natural or bold, then the exact shade, then intensity. Each answer makes the next one easier.
What a comparison can and can’t tell you
A preview shows how a color direction looks on your photo. It can’t say whether your hair can reach that color, whether it needs lightening, or how many sessions it might take. That depends on your starting color, past color, hair condition, products, and technique. Bring your saved finalists to a qualified colorist, or follow the product instructions, including any strand or allergy test they call for. Our guide on what to show your colorist can help you prepare.
Your comparison checklist
- Four very different families
- Two or three finalists from the neighbors
- Intensity set for each finalist
- Finalists repeated on a second photo
- Top one or two saved, then slept on
Quick questions
How do I see my original color again?
Tap Natural in the shade row. Tap your shade again to go back to the preview.
Can the app tell me which hair color suits me?
No. It doesn’t analyze your face or skin tone or recommend shades. It lets you see the colors you choose on your own photo, so the decision stays yours.
Can I preview highlights or balayage?
Not at the moment. The app changes the color of the hair it finds as a whole, with an intensity slider for a softer or stronger look.
How many shades are there?
Sixteen curated shades across Natural, Trending, and Bold, plus Custom for any color you pick yourself.